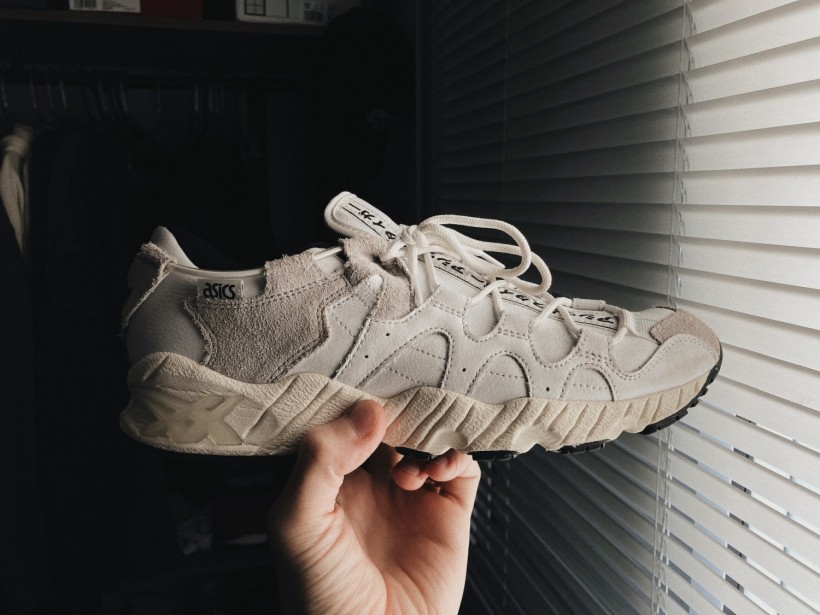
(Photo : felipepelaquim)
On rainy days, split or worn soles can result in damp feet, but you don't have to throw them away. Shoe repair is one profession that belongs exclusively to cobblers and shoe experts. And to be fair, that is still the case a lot of the time. Your shoes may require professional care if they appear worse for wear.
However, cobblers aren't always necessary to fix your shoes. In truth, you can use a few simple DIY shoe repair techniques to give your shoes a quick facelift and avoid going to the store.
You can quickly remedy the problem with Loctite shoe glue and a little effort, and then you can start wearing your favorite shoes again. You still need professional guidance on properly performing repairs if you're doing them yourself. You can use the following methods at home.
Repairing a shoe sole
-
First, wash the soles. Cleaning your shoes' soles is always advised before beginning any repairs.
-
Use a leather/suede cleaner, soap, water, or disinfectant spray and wipe as appropriate for the material to get rid of any dirt and stains. Dry in the air.
-
Pull the sole away from the shoe next so you may dab spots of superglue through the interior and around the sole's exterior (under where the ball of your foot goes).
-
After applying the glue, push the sole and shoe together for at least a minute.
-
Leave it dry overnight while keeping it in place with a shoe clamp or another sturdy object.
It's a good idea to periodically clean your soles because it will prevent debris buildup and assist your shoes in maintaining their grip.
Repairing broken heels
-
You should make the shoe as clean as possible before doing any work by cleaning the heel and sole to get rid of any dirt or residue.
-
Roughen the material with sandpaper by varying the break size (the heel's top and the sole's base). You can make it simpler for the glue to reassemble the shoe by sanding the surfaces.
-
After that, cover both sides liberally with super glue. How long you should wait before fixing the heel and shoe together can be determined by reading the directions on the packet (some glue manufacturers recommend leaving a few minutes to increase the adhesive qualities of the glue).
-
Once the heel and shoe are firmly squeezed together in the desired location, hold for a few minutes before keeping them there for 24 hours with elastic bands or a heavy item to give the glue the longest time to set.
It's time to call a professional or the cobbler if you've already tried gluing your heels and they still won't stay in place.
Replacing a shoe sole
You can quickly and easily make a new pair of shoes if the soles on your current ones are missing or so worn down that they need replacement. That way, you can save money on a new pair.
-
A pair of pliers comes in handy to gently detach the sole from the shoe. Nevertheless, old soles frequently begin to tear away from the shoe. If so, start by pulling the end that has already detached.
-
Use a hair dryer set to low heat to melt the glue holding the soles in place if you're having trouble removing them.
-
Take a cloth and some acetone to remove residual adhesive from the shoe's base once the sole is out.
-
Air dry if possible.
-
Next, roughen the top of your new sole and the base of your shoe with sandpaper.
-
Apply your strong shoe glue on the sole and around the shoe part you want to fix to the sole.
-
After you've glued the shoe and sole together, push them together for at least a minute.
-
Lay out to dry overnight while keeping it in place with a shoe clip or an oversized item.
The takeaway
You can quickly repair shoe soles and heels at home, depending on the damage. But you may need to take it to a professional if the damage is substantial. If you frequently visit the cobbler every time one of your shoes wears out, consider investing in a shoe repair kit.
* This is a contributed article and this content does not necessarily represent the views of hngn.com


